Guide: How to make a GIF with Premiere Elements
Can Premiere Elements export gif files? The answer sadly is no. However, you can make a gif with the aid of Photoshop, and here's a guide showing how to do it. I'm using Photoshop CS6 and Premiere Elements 12, and this guide assumes you already have your film or animation prepared in Elements.
Step 1 - Exporting the animation as a jpg sequence with Elements
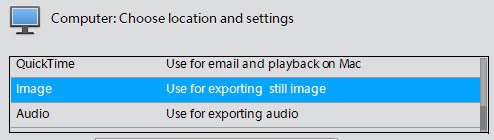
a) In Elements, go to Publish + Share > Computer
b) Scroll down and choose Image
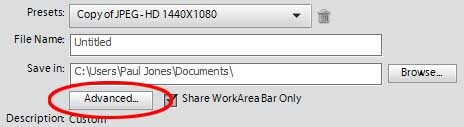
c) Click Advanced... to bring up the Export Settings box.
d) Choose Export As Sequence, and choose the frame rate, quality, width and height.

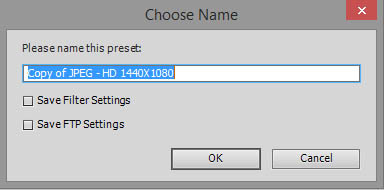
e) Click OK. When the Choose Name box pops up, just ignore it and click OK again.
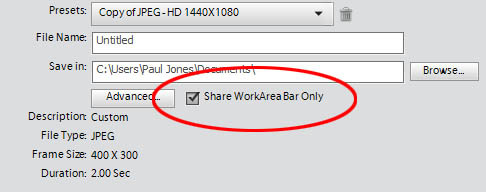
f) Make sure Share WorkArea Bar Only is ticked, or else you'll export the entire timeline.
g) Click Save, and wait until it's finished rendering.
Step 2 - Turning the jpg sequence into a gif using Photoshop
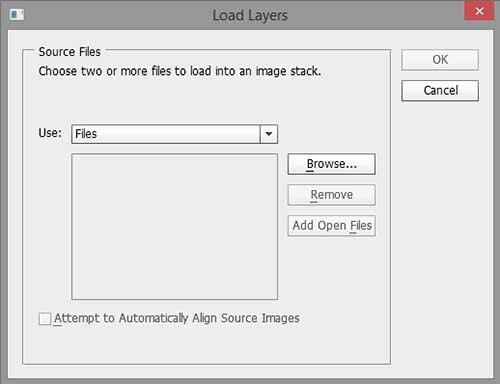
a) Now switch to Photoshop. We have to load all the jpeg image files into a single document as layers, so first go to File > Scripts > Load Files Into Stack to bring up the Load Layers box.
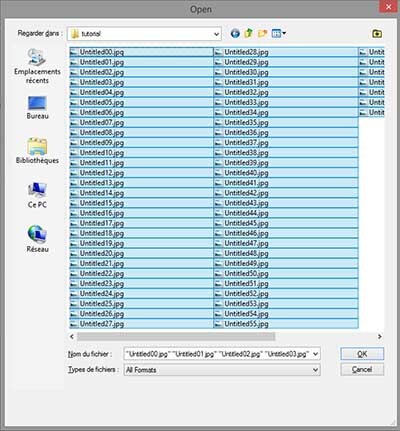
b) Click Browse, find your jpegs and highlight all of them, then click OK.
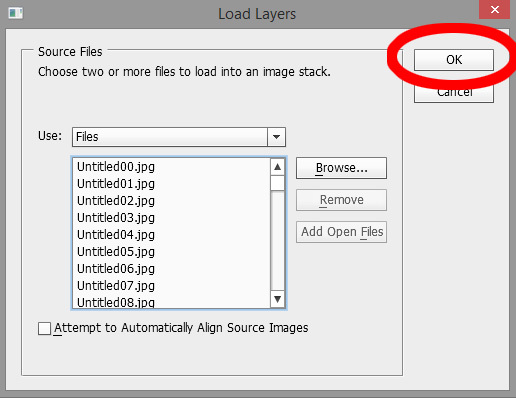
c) Click OK in the Load Layers panel.
d) Wait for all the images to finish importing, then open the timeline panel by going to Window > Timeline
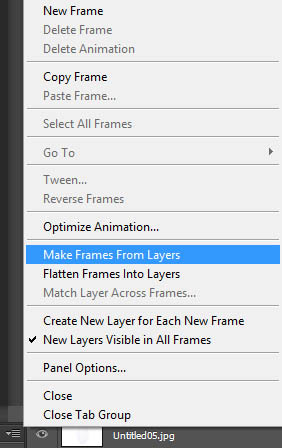
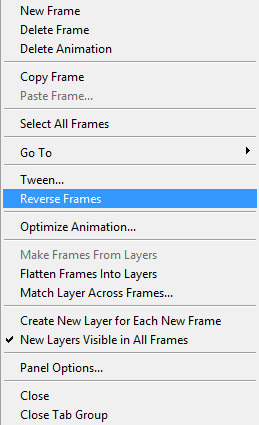
e) Open the Timeline panel fly-out menu by clicking on the icon in the top-right corner of the Timeline panel. The icon looks like four horizontal lines and a down arrow.

f) Choose Make Frames From Layers to import the layers into the Timeline panel.
g) Chances are the jpegs are in the wrong order. If this is the case, open the Timeline panel fly-out menu again and click Reverse Frames.
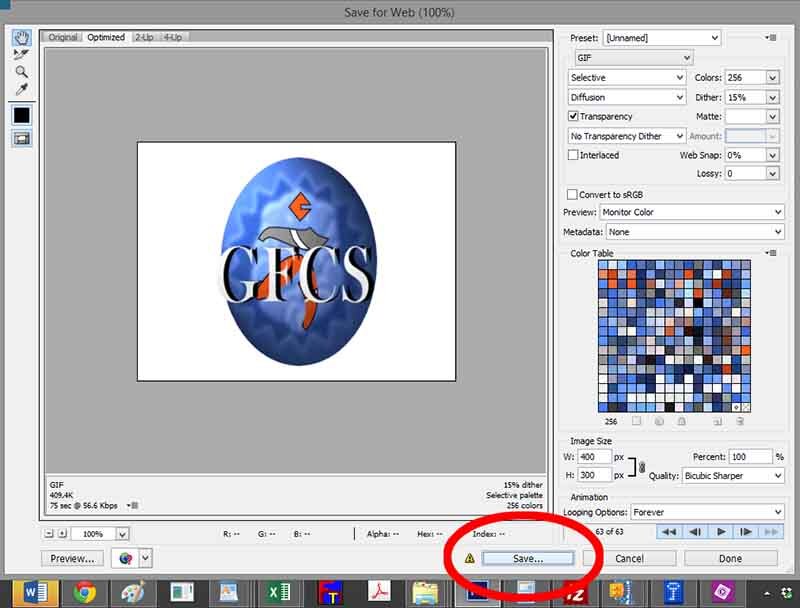
h) Choose File > Save For Web
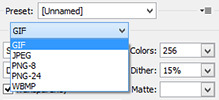
i) Make sure GIF is selected in the dropdown box.
j) You can preview the gif by clicking Preview..., or save it by clicking Save. Done!

Leave a comment